|
Most of us are familiar with traditional staging; the act of decorating and furnishing a home for sale to appeal to potential buyers. A well staged home can produce stunning listing photos that will encourage buyers to tour the home. It can also help buyers envision themselves living in the house. In recent years, a new trend has emerged in home staging: virtual staging.
What is Virtual Staging?
Virtual staging takes photos of empty rooms and then uses photo-editing software to add in attractive furniture and decor (like mirrors, plants, rugs, etc). While it is possible to download a DIY staging software, typically, you will get the best results by having a professional company virtually stage the photos. It’s also important that the photos you use are high-quality, preferably taken by a professional photographer.
Why opt for Virtual Staging?
When compared to traditional staging, virtual staging is much less expensive and saves the hassle of moving lots of furniture into the house or painting several rooms. According to realtor.com, “the average cost for most stagers is $300 to $600 for an initial design consultation, and $500 to $600 per month per staged room.” By comparison, most virtual staging companies will charge between $50-$200 per room depending on how much redecoration the room requires. Virtual staging can even include decluttering or “painting” rooms. In addition to saving money, virtual staging can be done quite quickly. Most companies offer a 2 day turn around on your photos.
Keep in Mind:
Bad virtual staging can immediately turn buyers off from perusing your listing photos and make them write off visiting your home. Alternatively, when you use a professional company, you should have a disclaimer in the caption of the photo that it has been virtually staged so the buyer is aware that when they visit the house, it will not look the exact same as the photos. You may decide you want to include the original photos of the empty rooms with the staged photos for this purpose. Virtual staging is not intended to trick buyers; it is a tool sellers use to help showcase a property while providing depth to the rooms so buyers can envision the space better. Ultimately, you may still decide to physically stage your house or use a mix of virtually and traditionally stages rooms for your listing. As always, a realtor can offer great advice and guidance for your particular situation.
Sources:
https://www.homelight.com/blog/home-staging-tips-first-timers/ https://www.realtor.com/advice/sell/what-is-virtual-staging-home-selling/ https://www.homelight.com/blog/virtual-staging-sell-home-faster/ https://www.realtor.com/advice/sell/how-much-does-home-staging-cost/ https://www.forbes.com/sites/ellenparis/2019/11/18/an-increasing-number-of-real-estate-agents-are-choosing-virtual-staging-to-lure-buyers-to-their-listings/#41e61b8b3432 https://www.redfin.com/blog/impress-buyers-with-virtual-staging/ https://www.inquirer.com/real-estate/housing/virtual-staging-home-sales-philadelphia-20200415.html
8 Comments
Whether you are renovating a home to prepare it for sale or just want to improve it, renovations can be expensive so it’s important to find a contractor you trust and ensure your upgrades add value to your house. Renovating a home can seem overwhelming at first, especially if you have several ideas or projects you want to accomplish. If you have any issues with the basics- your roof, HVAC system, plumbing, or flooring and walls- they will be your first priority. If everything is in good working condition, you may decide to focus on the kitchen or bathrooms which typically have a high return on investment. So once you’ve decided on your project, what should you do next?
1. Set a Budget
Your budget may look different if you are improving upon your dream home versus if you plan to sell your home in a few years. Not all upgrades will pay for themselves when it comes to selling a home. However, if you are improving on a home you plan to live in for several years to come, it may make sense to splurge on amenities that you would want regardless of resale value. A big part of the budget is deciding on materials. In most cases, you want to balance your splurges with economic substitutions. You may decide on an upscale laminate over true hardwood floors or choose a cost-effective neutral tile in the bathroom paired with a top-of-the-line tile for an accent strip. After getting some estimates, you may find that you do not have enough saved. It’s a good idea to review loan options and talk with your mortgage lender.
2. Devise a Plan
Get together all the information about your project including everything you want done and desired materials. You may decide to create your own plan or you might meet with a pro, like an architect or interior designer. It’s a good idea to establish early on how involved you want them to be in the process since hiring an architect for the full job (assembling a team of contractors, overseeing construction, designing every aspect of your renovation) could be costly.
3. Create a List of Candidates
Your realtor, friends and family, and social media platforms can be a good springboard for you to start a list of people/ businesses you may want to use for your renovations. You can find more candidates through an online search as well. Then you will want to narrow down the list by looking at reviews carefully.
4. Interview the Best Candidates
Now you can verify with each candidate that they are licensed and insured as well as inquire about their past work with renovations similar to yours. You can request references and then make sure they check out. Next, you should set up in-person interviews. This ensures you will work well with your contractor and they get a chance to see the property/ area you want renovated. This will help them give you an accurate estimate; you may even decide you want to pay for a “hard estimate” at this time to be sure you will stay within budget (which can be particularly important if you plan to sell soon and want the best return on investment).
5. Select a General Contractor
Now you are ready to hire your General Contractor (or plumber, painter, designer, etc). You want to be present but avoid micromanaging since that can slow down the renovations and add unnecessary tension. Since you’ve been thorough in your selection process, you can be confident in your team to produce high quality work. That said, it’s always a good idea to let your GC know how to get in touch with you when you aren’t home if they need a decision on purchase or design. Your freshly upgraded home is now ready to be enjoyed, or perhaps, sold!
Sources:
https://www.zillow.com/blog/home-renovation-team-trust-201009/ https://www.zillow.com/blog/high-price-home-improvements-199539/ https://www.investopedia.com/investing/types-home-renovation-which-ones-boost-value/ https://www.bankrate.com/loans/home-improvement/cheap-fixes-to-boost-the-value-of-your-home/ https://www.washingtonpost.com/lifestyle/home/how-to-set-your-budget-for-a-big-home-improvement-project/2018/03/26/acf2b7cc-2c7f-11e8-b0b0-f706877db618_story.html https://www.remodeling.hw.net/cost-vs-value/2019/ 1. Maintain the Right Humidity Level
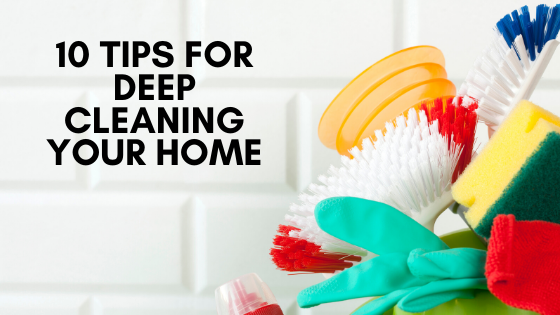
It’s important to maintain optimum humidity levels in your home. If the humidity is too low it results in static electricity. This is a problem because static electricity attracts dust and makes it hard to remove. If the humidity is too high, it creates the perfect environment for dust mites. Dust mites are an allergen and they promote dust production in the home. According to the American College of Allergy, Asthma, and Immunology, there are up to 19,000 dust mites in a half teaspoon of dust. To prevent static and keep dust mites to a minimum, keep the humidity in your home between 40% and 50%. 2. Protect Your Furniture and Carpets To keep furniture and carpets clean, use protective furniture sprays and carpet sealants. Scotchgard and Ultra-Guard are two examples of effective brands. These products protect against liquid spills. When a liquid hits a protected surface, it beads up instead of absorbing into the fabric. These products can be multi-purpose, protecting against mold, mildew and bacteria as well. A good practice is to get a deep upholstery and carpet cleaning once a year, and then use a sealing product. 3. Use a Car Product to Prevent Soap Scum Buildup A great way to prevent soap scum from building up on glass shower doors is to use a product made to protect car windshields. These rain-repellent products can be coated on glass shower doors. They form a barrier that makes water, oils, and soap suds bead up and roll away. You can find them at any store that sells auto supplies. When you notice that water is no longer beading on the shower door, it’s time to reapply the product. These products were made for glass, so they should not be used on plastic. 4. Use a Pumice Stone on Your Oven Oven cleaners can be toxic and messy to use. Most oven cleaners contain lye, which is a dangerous substance that can burn your eyes and skin. The old fashioned approach to cleaning ovens is still your best bet. A wet pumice stone can be used to scrape your oven free of dirt and grease. Another trick for cleaning ovens is to put a clean, damp cloth or sponge in the microwave for 30 seconds. Then use it to wipe down your oven with or without cleaning products. It’s a good idea to use rubber gloves to do this. 5. Seal Your Stone Countertops Granite, marble, and other stone countertops are porous, so colored liquids can be absorbed, causing stains. Use a sealer on your countertop that prevents stains by making the liquid bead up on the surface. Even though these countertops are usually sealed when they’re installed, the sealant can wear down and needs to be replaced. Twice a year, reseal your countertops. You can test them to see if they need new sealant by dropping a small amount of water on the countertop. If the water doesn’t bead and stay beaded for a few minutes, then it needs to be resealed. 6. Clean Your Toilet with Coca-Cola Traditional toilet cleaners can contain lots of harsh chemicals. Avoid toxic fumes by using Coca-Cola to clean your toilet instead. Simply pour the beverage into your toilet and let it soak, then scrub with your toilet brush. After you flush, the Coca-Cola should leave your toilet sparkling clean. 7. Use Grapefruit and Salt on Your Bathtub Similar to toilet cleaners, bathtub cleaners can contain harsh chemicals and scrubbing the bathtub tends to be an arduous task. Cleaning your tub can be less toxic and more pleasant with salt and a grapefruit. First, sprinkle coarse salt all over the bathtub. Then use a grapefruit that’s been cut in half to rub in and wipe up the salt. Finally, simply rinse the tub with water. 8. Use Coffee Filters to Clean Electronics There’s no need to buy special cleaning cloths to clean your delicate computer screens and other electronic devices. A simple coffee filter is effective to clean dust and fingerprints off of these devices. Use it to clean screens on your TV, tablet, computer and phone without leaving a trace of fibers behind. 9. Use “Daylight”Light Bulbs While it’s not exactly cleaning, making sure you have bright light bulbs will make your home look nicer and enable you to spot stains and other messes more quickly. “Daylight” bulbs are full-spectrum light bulbs designed to look like natural light. They actually positively affect your mood, just like sunlight does. These bulbs are usually labeled “daylight” and range between 5,000 to 6,5000 kelvins. 10. Spot Clean Everyday Perhaps the best way to address deep cleaning is to spot clean on a daily basis to prevent dirt from building up and stains from forming. Cleaning regularly will also keep allergens at a minimum. Putting together a handy kit for spot cleaning makes it fast and easy to do. Here are some essential items:
Sources: https://makespace.com/blog/posts/deep-cleaning-tips-tricks-hacks/ https://www.houselogic.com/organize-maintain/cleaning-decluttering/spring-cleaning-tips/?site_ref=mosaic https://homehacks.co/deep-cleaning-hacks-for-entire-house/ 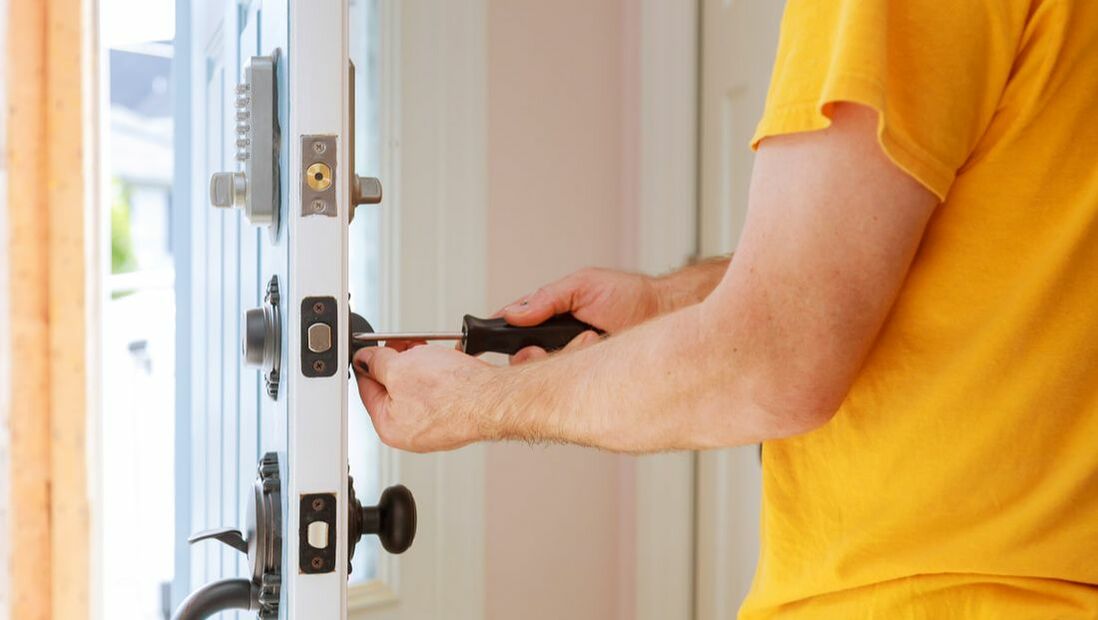 A home inspection is one aspect of selling a home that many first time sellers often overlook. Caught up in the excitement of change, potential for an influx of cash, and the million different hoops one has to jump through, many sellers completely forget the necessity of performing a thorough home inspection. Other sellers simply don’t know how to conduct one. Below is a checklist of the most common items and their accompanying defects to check for when executing a home inspection. While this is not an all inclusive list, it is a fantastic place to start. For those of you that find the list too daunting, be aware that there is the option to hire a home inspector instead. Contact Mattias to get names of \home inspectors he recommends. If you are thinking of listing your home, here are a few steps to help prepare you for success.
Throughout this whole process, try to imagine a buyers perspective. This can be difficult to do but REALTORs and home stagers can help in this process. |
Categories
All
|

Email - Click Here
Phone - 540-246-9067 Website - www.mattiasclymer.com Schedule a Meeting, Download Contact Card, Etc... |
Funkhouser Real Estate Group | 401 University Boulevard, Harrisonburg, VA 22801 | 540-434-2400 | ©2021 | Privacy Policy | All rights reserved.
Licensed in the Commonwealth of Virginia



 RSS Feed
